 Video Manual. Adding new Contact
 There are two ways to add a new Contact. In the first situation you do not have to log-in to our CCMS, because it is connected with Registration Form. The contacts are added directly with the use of Registration Form and are visible in our CCMS under CONTACTS/Contacts. In this situation the data can be also edited by Website user from the level of Webpage (after i.e. log into personal data section).
Example: DonJoy - MyDJO Registration Form
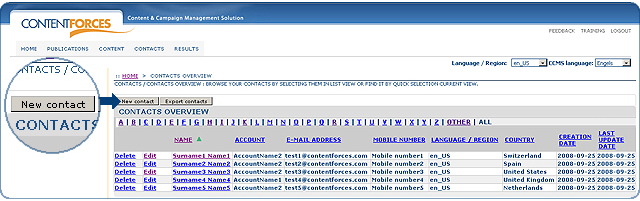
There is also a possibility to add add a new Contact directly in your CCMS. To do that click on the "New contact" button.
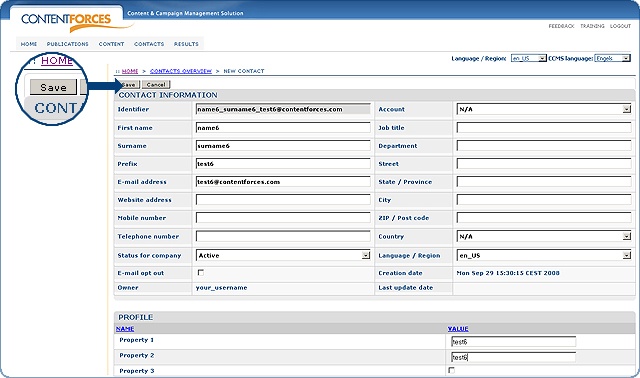
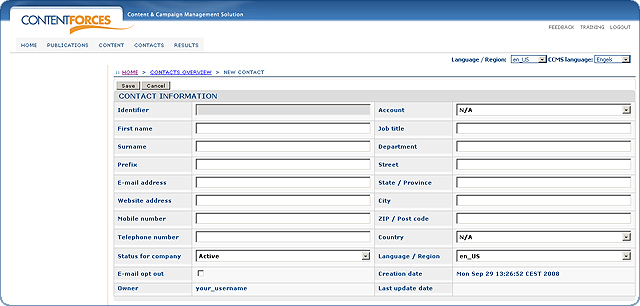
You will see page called "New contact". As you can see in the picture below, the Contact page is divided to "CONTACT INFORMATION" part and "PROFILE" part.

The "CONTACT INFORMATION" part is in every Contact, but not all of the data there needs to be filled. The following information is required: First name, Surname and E-mail adress. The rest of the fields are optional.
Importantly in the "CONTACT INFORMATION" part you can also see the field called "Identifier" - this field contains a unique identifier which is created on the basis of "First name", "Surname" and "E-mail adress". So, for example an "Identifier" may look like "Firstname_Surname_email@email.com"
Moreover, the "CONTACT INFORMATION" part there is also a possibility to set the "Status for company" (Active/Not active), "E-mail opt out" (if the Contact want to receive e-mailing), "Account" (if Contact should be assigned to a specific Account), "Language / Region" (to which Language / Region Contact will be assigned).
 Identifier is created only once. So if you change the Contact's First name, Surname or E-mail adress, then the Identifier will rmeain the same.
PROFILE
The "PROFILE" part is made upon your request at the beginning of the implementation process. You choose name of each property and it's type (they can be short text, long text, numerical, true/false, Image property, File property, Value List (dropdown created during implementation process). Furthermore you choose also if specific property is required or not required.
In "PROFILE" there also can be properties connected with Media items. If property is connected with Media items, then you can assign image or file to new contact.
Video Manual. Assigning image/file to Contact

Assigning image to new contact
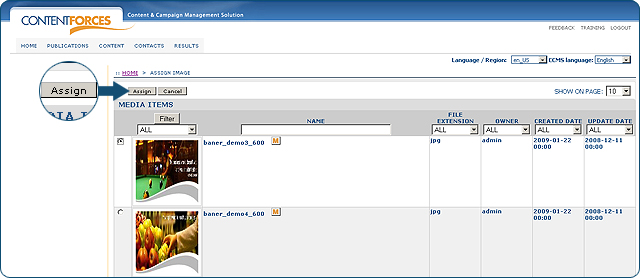
To assign image click 'Assign Image' button by right property
Select image from Media items page and click 'Assign' button
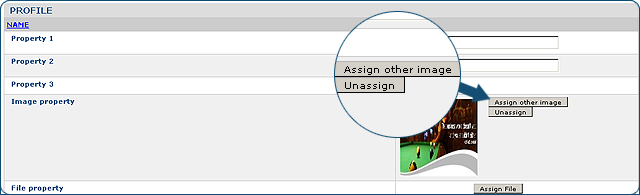
When image is assigned, you can also unassign it with 'Unassign' button or assign other image (from Media items) using 'Assign other image' button
Assigning file to new contact
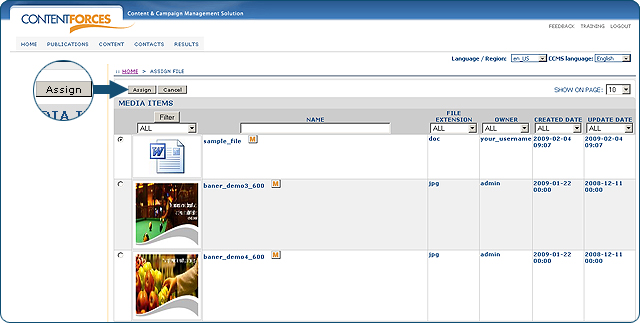
To assign image click 'Assign File' button by right property
Select file from Media items page and click 'Assign' button
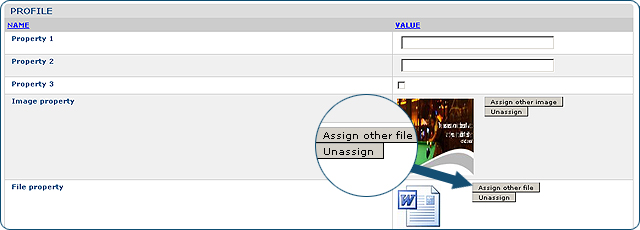
When image is assigned, you can also unassign it with 'Unassign' button or assign other image (from Media items) using 'Assign other image' button
When all neccessary data is filled - you can click "Save" to add new Contact, or "Cancel" to discard.