 Video Manual. Managing tables
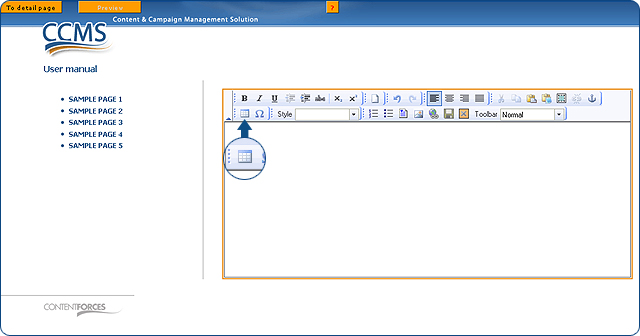
The "Insert/Edit Table" button is displayed in normal and professional mode of the Content Editor.
Inserting a table
 Choose a place where you want to insert a table.
 Choose the 'Insert/Edit Table' option.
Fill in the table properties.
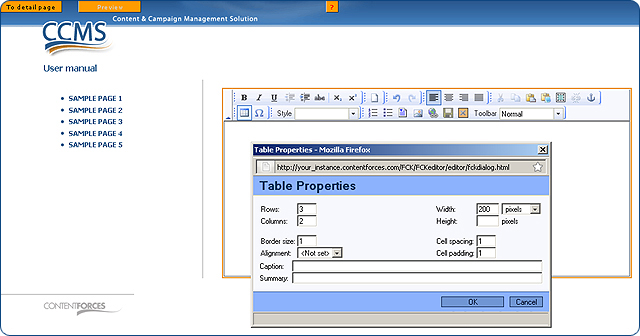
 The main options are:
- Rows - number of rows in table
- Columns - number of columns in table
- Border size - if set to "0" then border is not displayed
- Alignment - you can setup the alignment of the table
- Width - you can setup the width of the table (in pixels or percent)
- Height - you can setup the height of the table (in pixels)
- Cell spacing, cell padding - you can setup cell options
Click the 'OK' button.
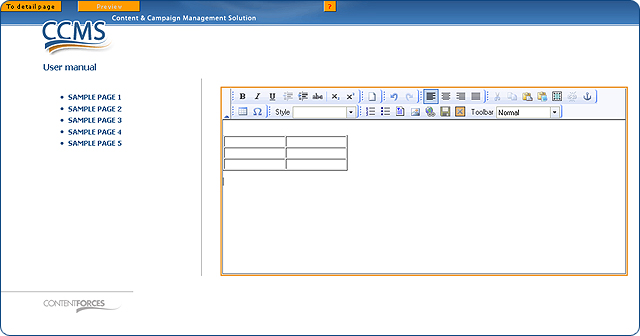
To copy an existing table, select it, copy (using right-click context menu) and paste it into the new place
Resizing a table
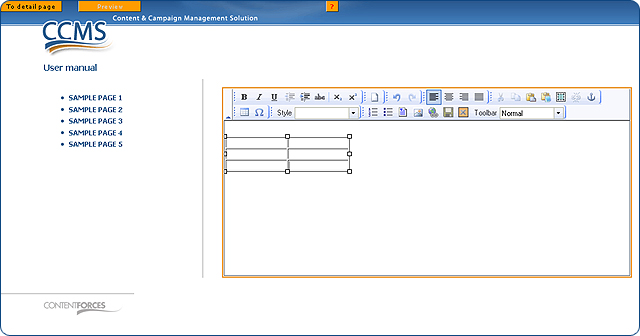
You can resize a table in two ways.
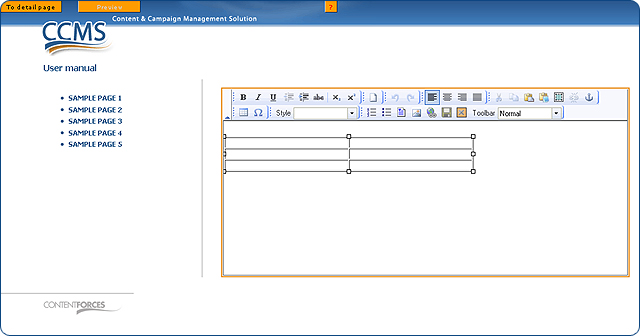
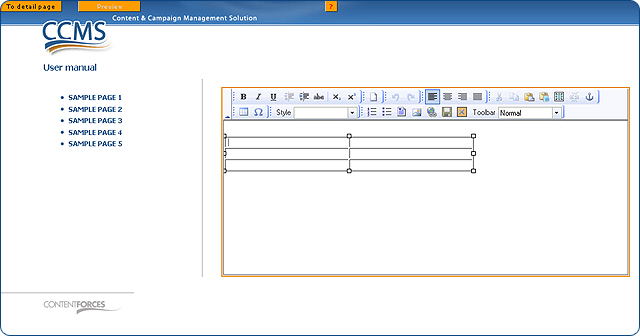
When you click on a table border, you will see special squares. When you drag one of them with the cursor, you can resize the table manually.
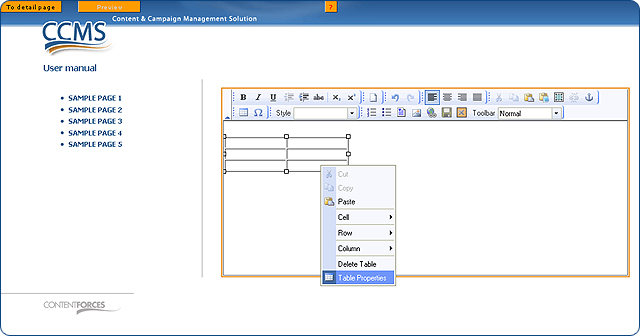
You can also click on the table, right-click and select "Table Properties" from the context menu
Now you can input a new size of the table

Click the 'OK' button.
Managing rows, columns and cells
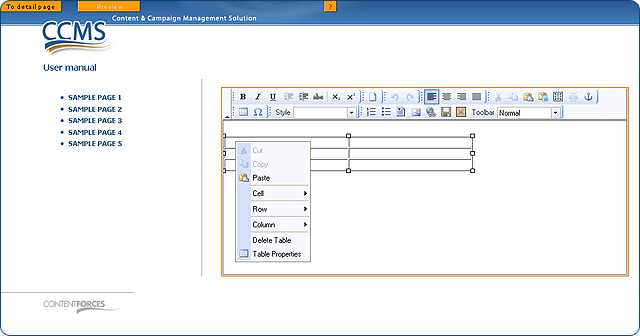
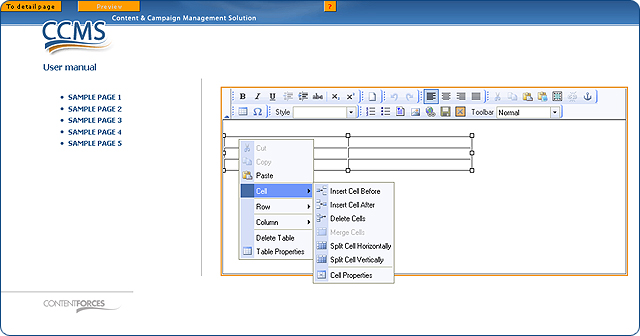
By using the context menu you can manage rows, columns and cells in a table.
Choose a place in table where you want to make changes
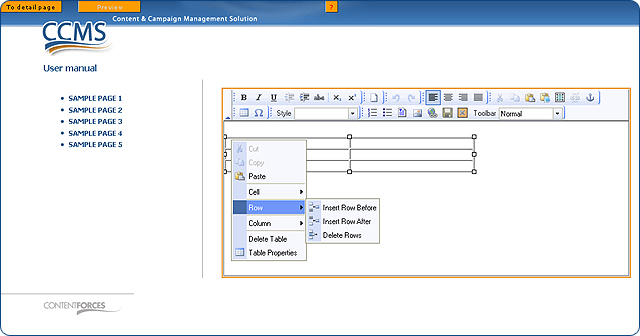
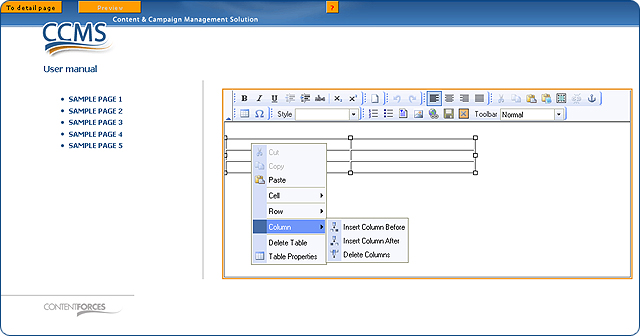
Right-click with your mouse to see the context menu. You will see three tabs: "Cell," "Row" and "Column."
Under the "Cell" tab, you will see options such as:
Under the "Row" tab, you will see options such as:
Under the "Column" tab, you will see options such as:
To apply a selected change just click it's name in the context menu
Changing table properties
Click on the table, right-click with your mouse and select "Table Properties" from the context menu

Now you can change properties of the table (i.e. change border size, select alignment etc.)
Click the 'OK' button.
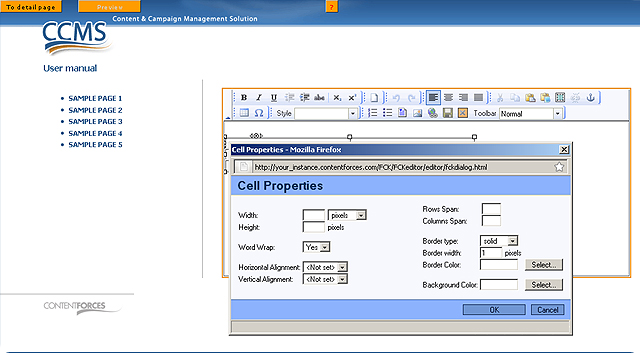
Changing cell properties
Click on a specific cell in the table and then right-click with your mouse to see the context menu. Under the "Cell" tab, click on "Cell properties"
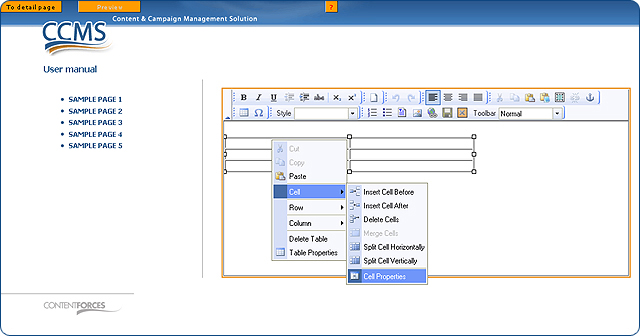
You will see a "Cell properties" pop-up. Here you can change many properties such as i.e. width, height, alignment etc. It's worth knowing that "Vertical Alignment" - "Top" in cell properties, makes text align to the top. Sometimes it's very useful.
Deleting table
Click on a specific cell in the table and then right-click with your mouse to see the context menu. Click on "Delete Table" to delete the table.

